Form
Create a New Form
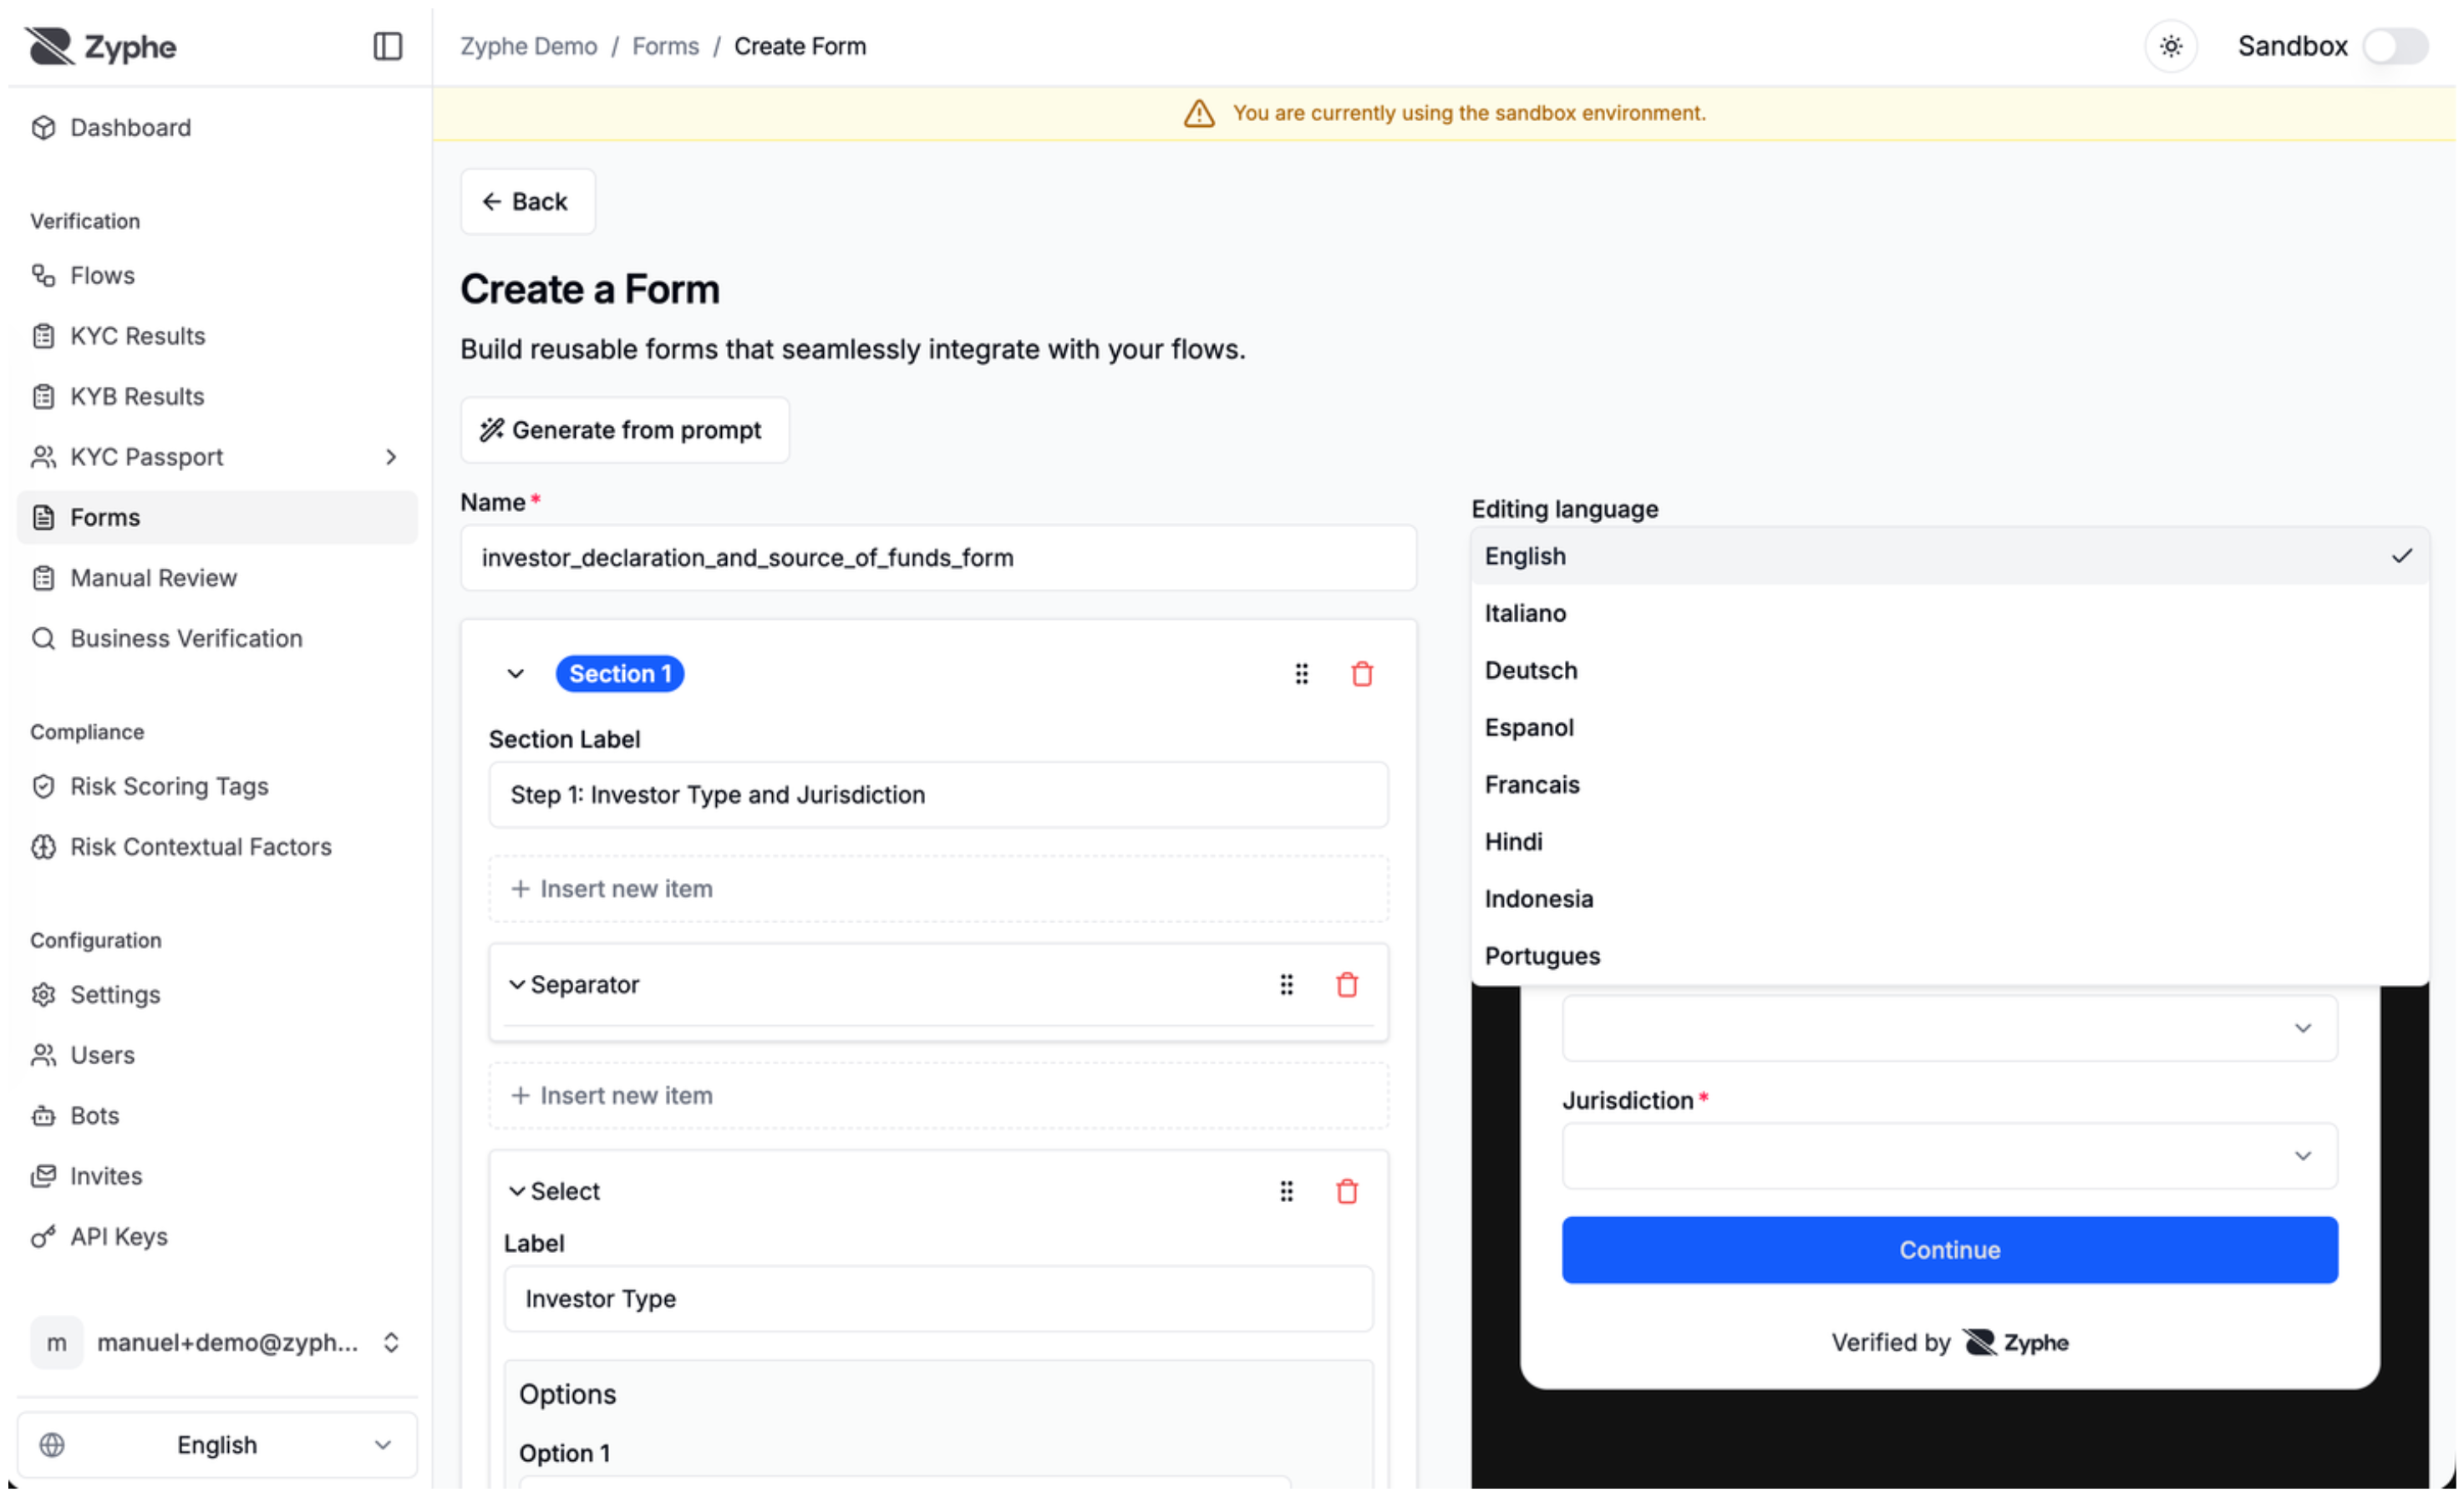
In order to create a "Form" Flow Step, you first need to create a Form.
In the Zyphe Dashboard, navigate to the Forms section and click on the Create button.
A Form can be reused in multiple different Flow Steps.
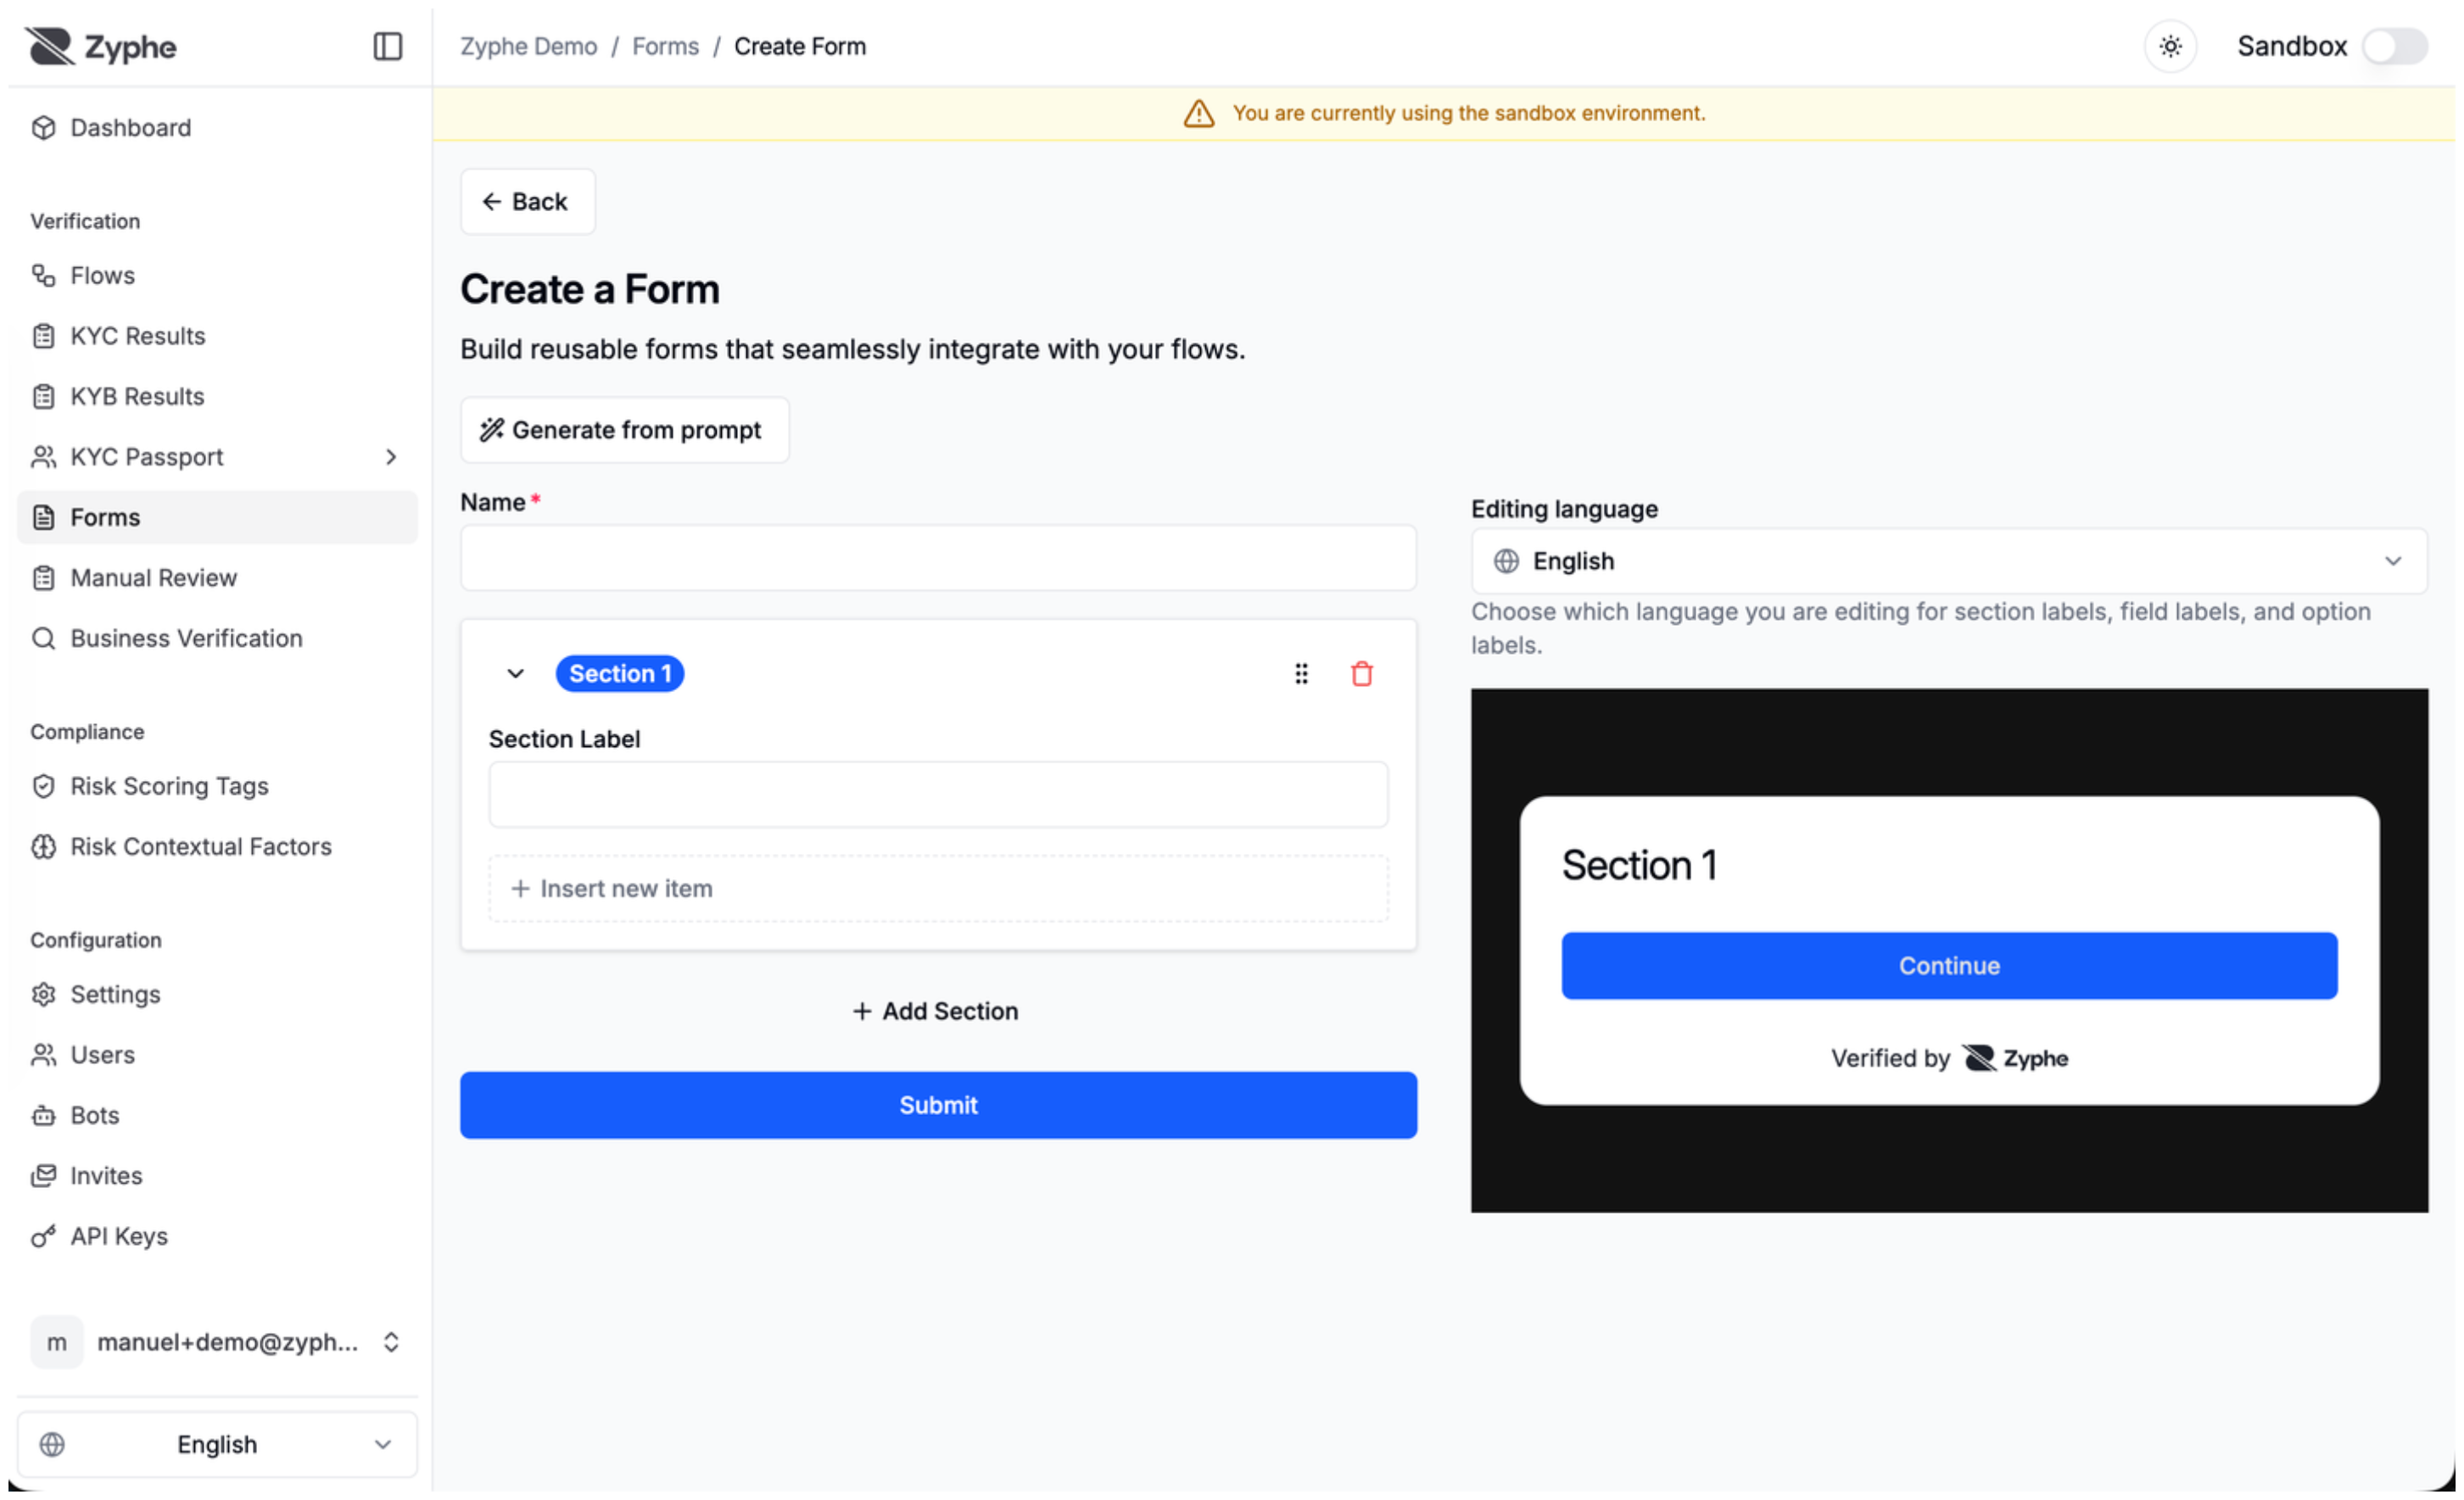
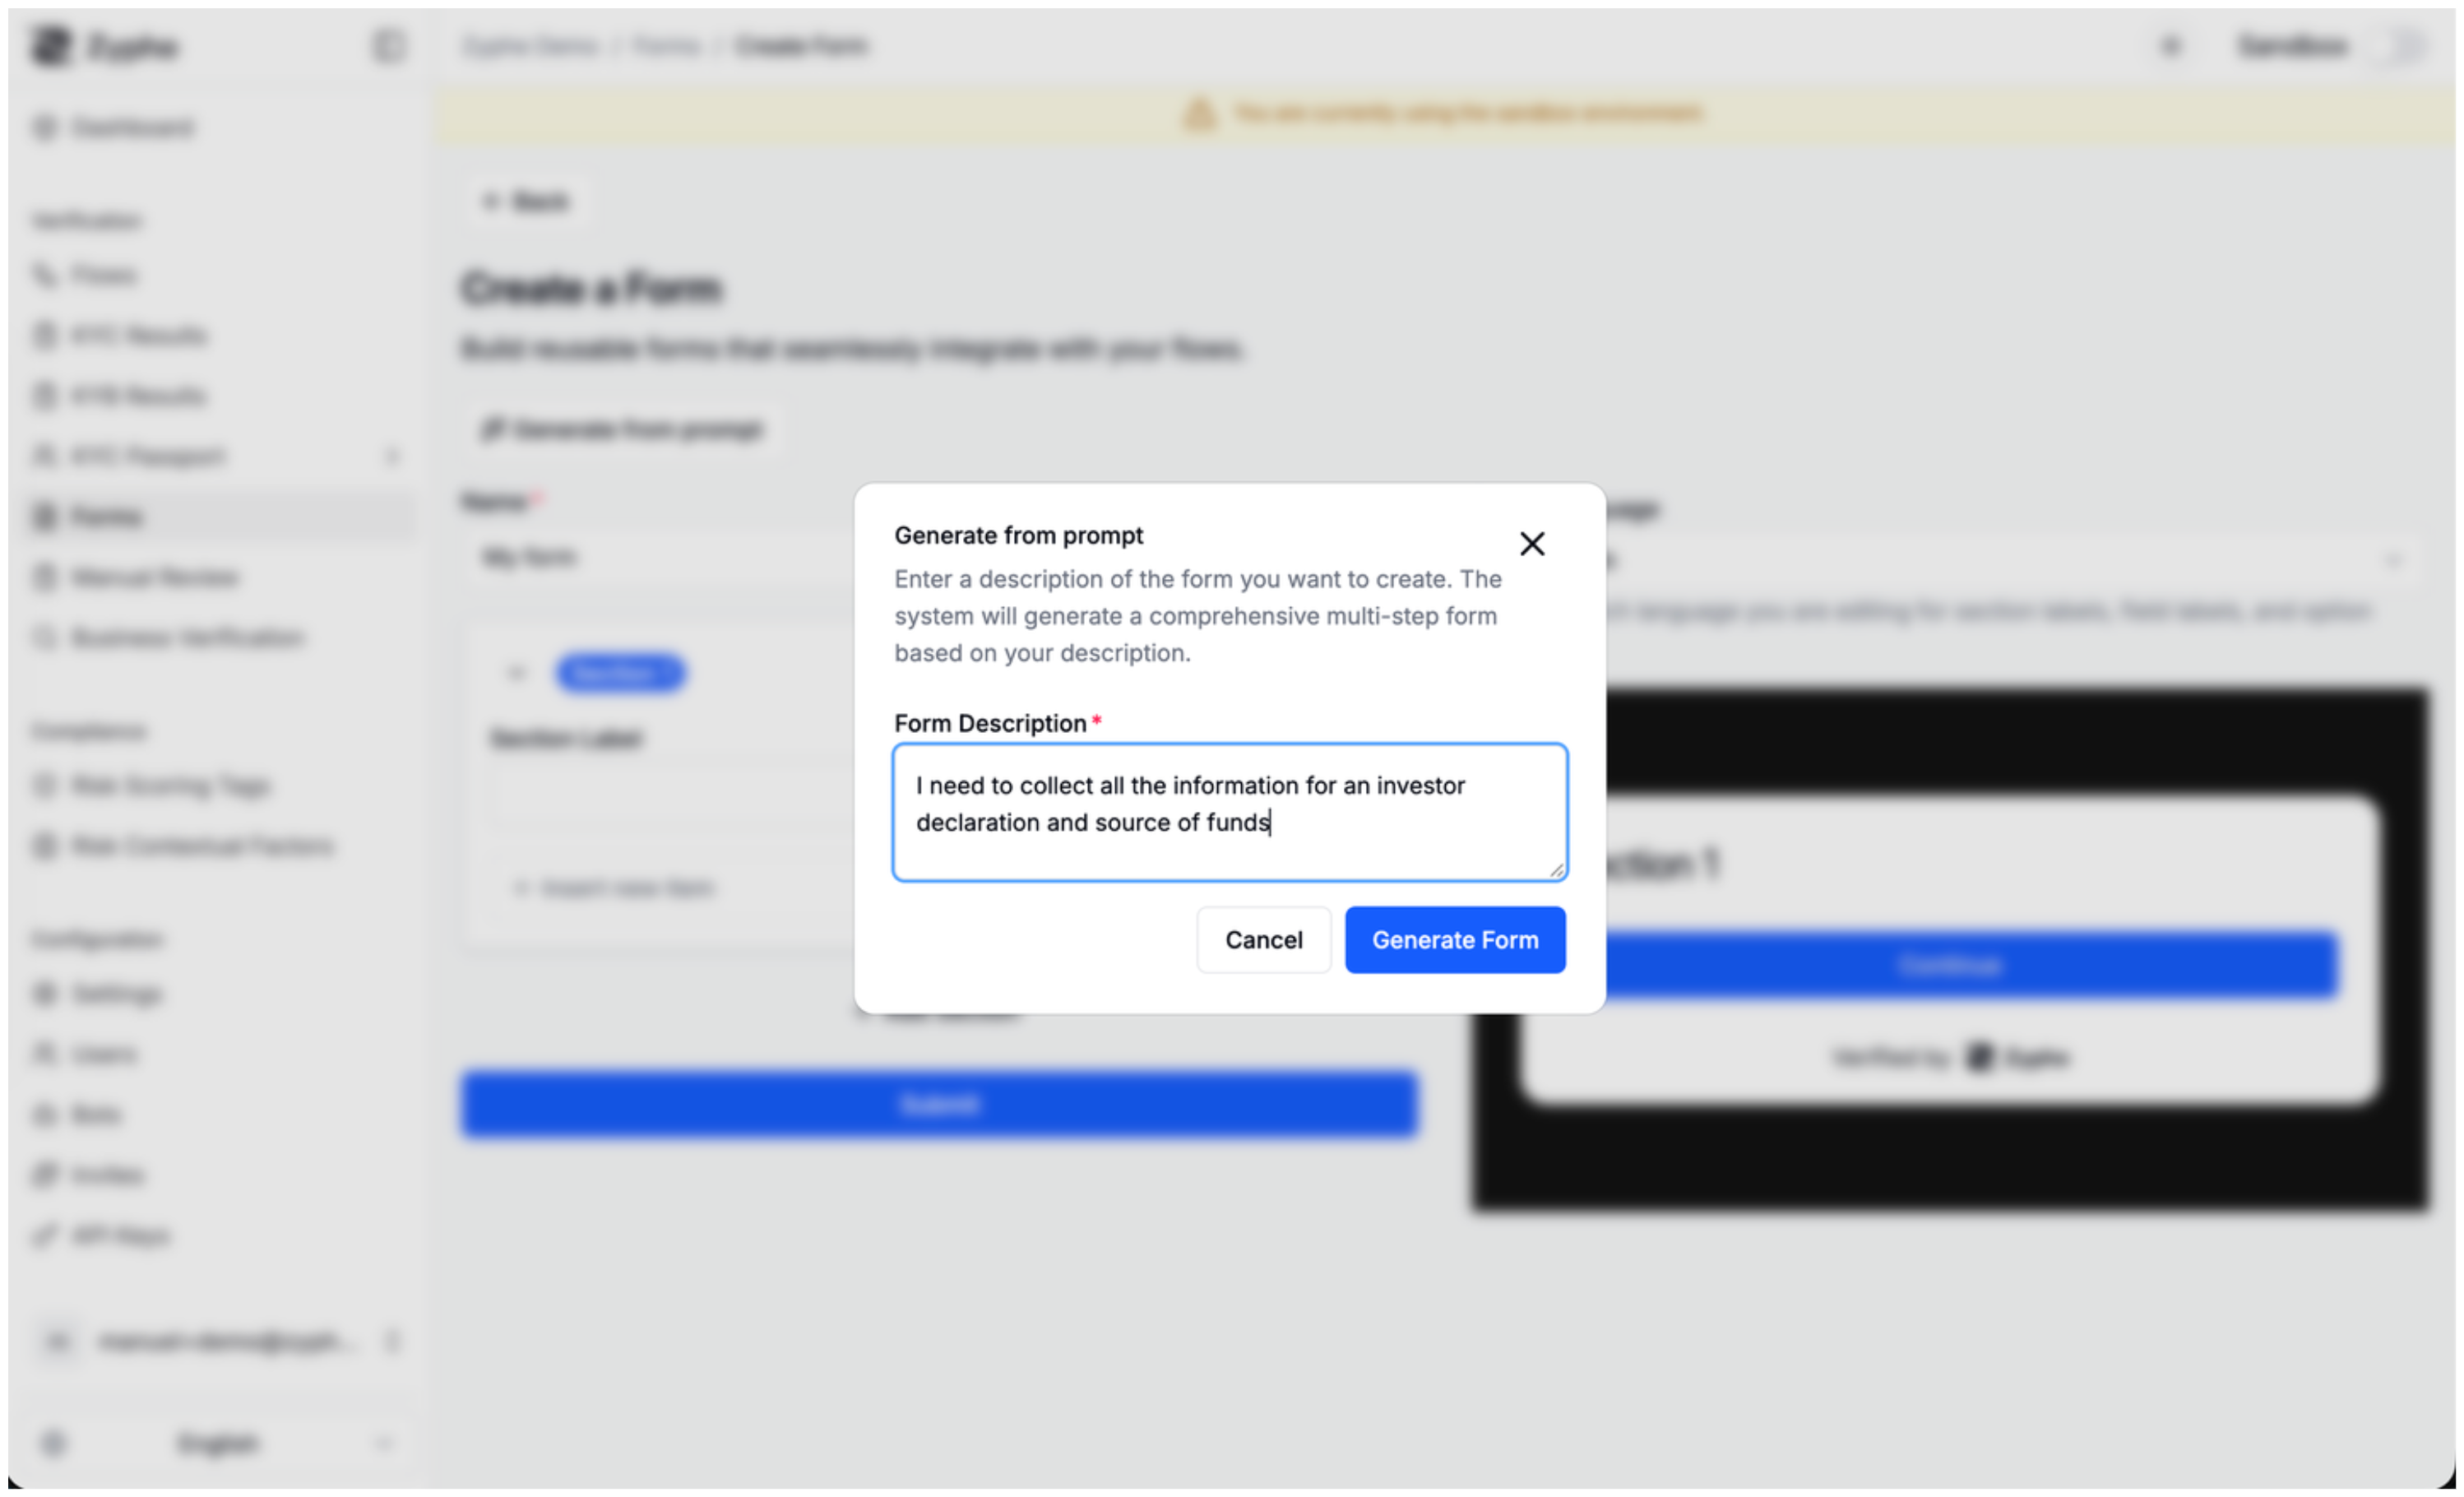
You can also generate a first draft from a prompt, then customize the generated sections and fields in the form editor.
Section
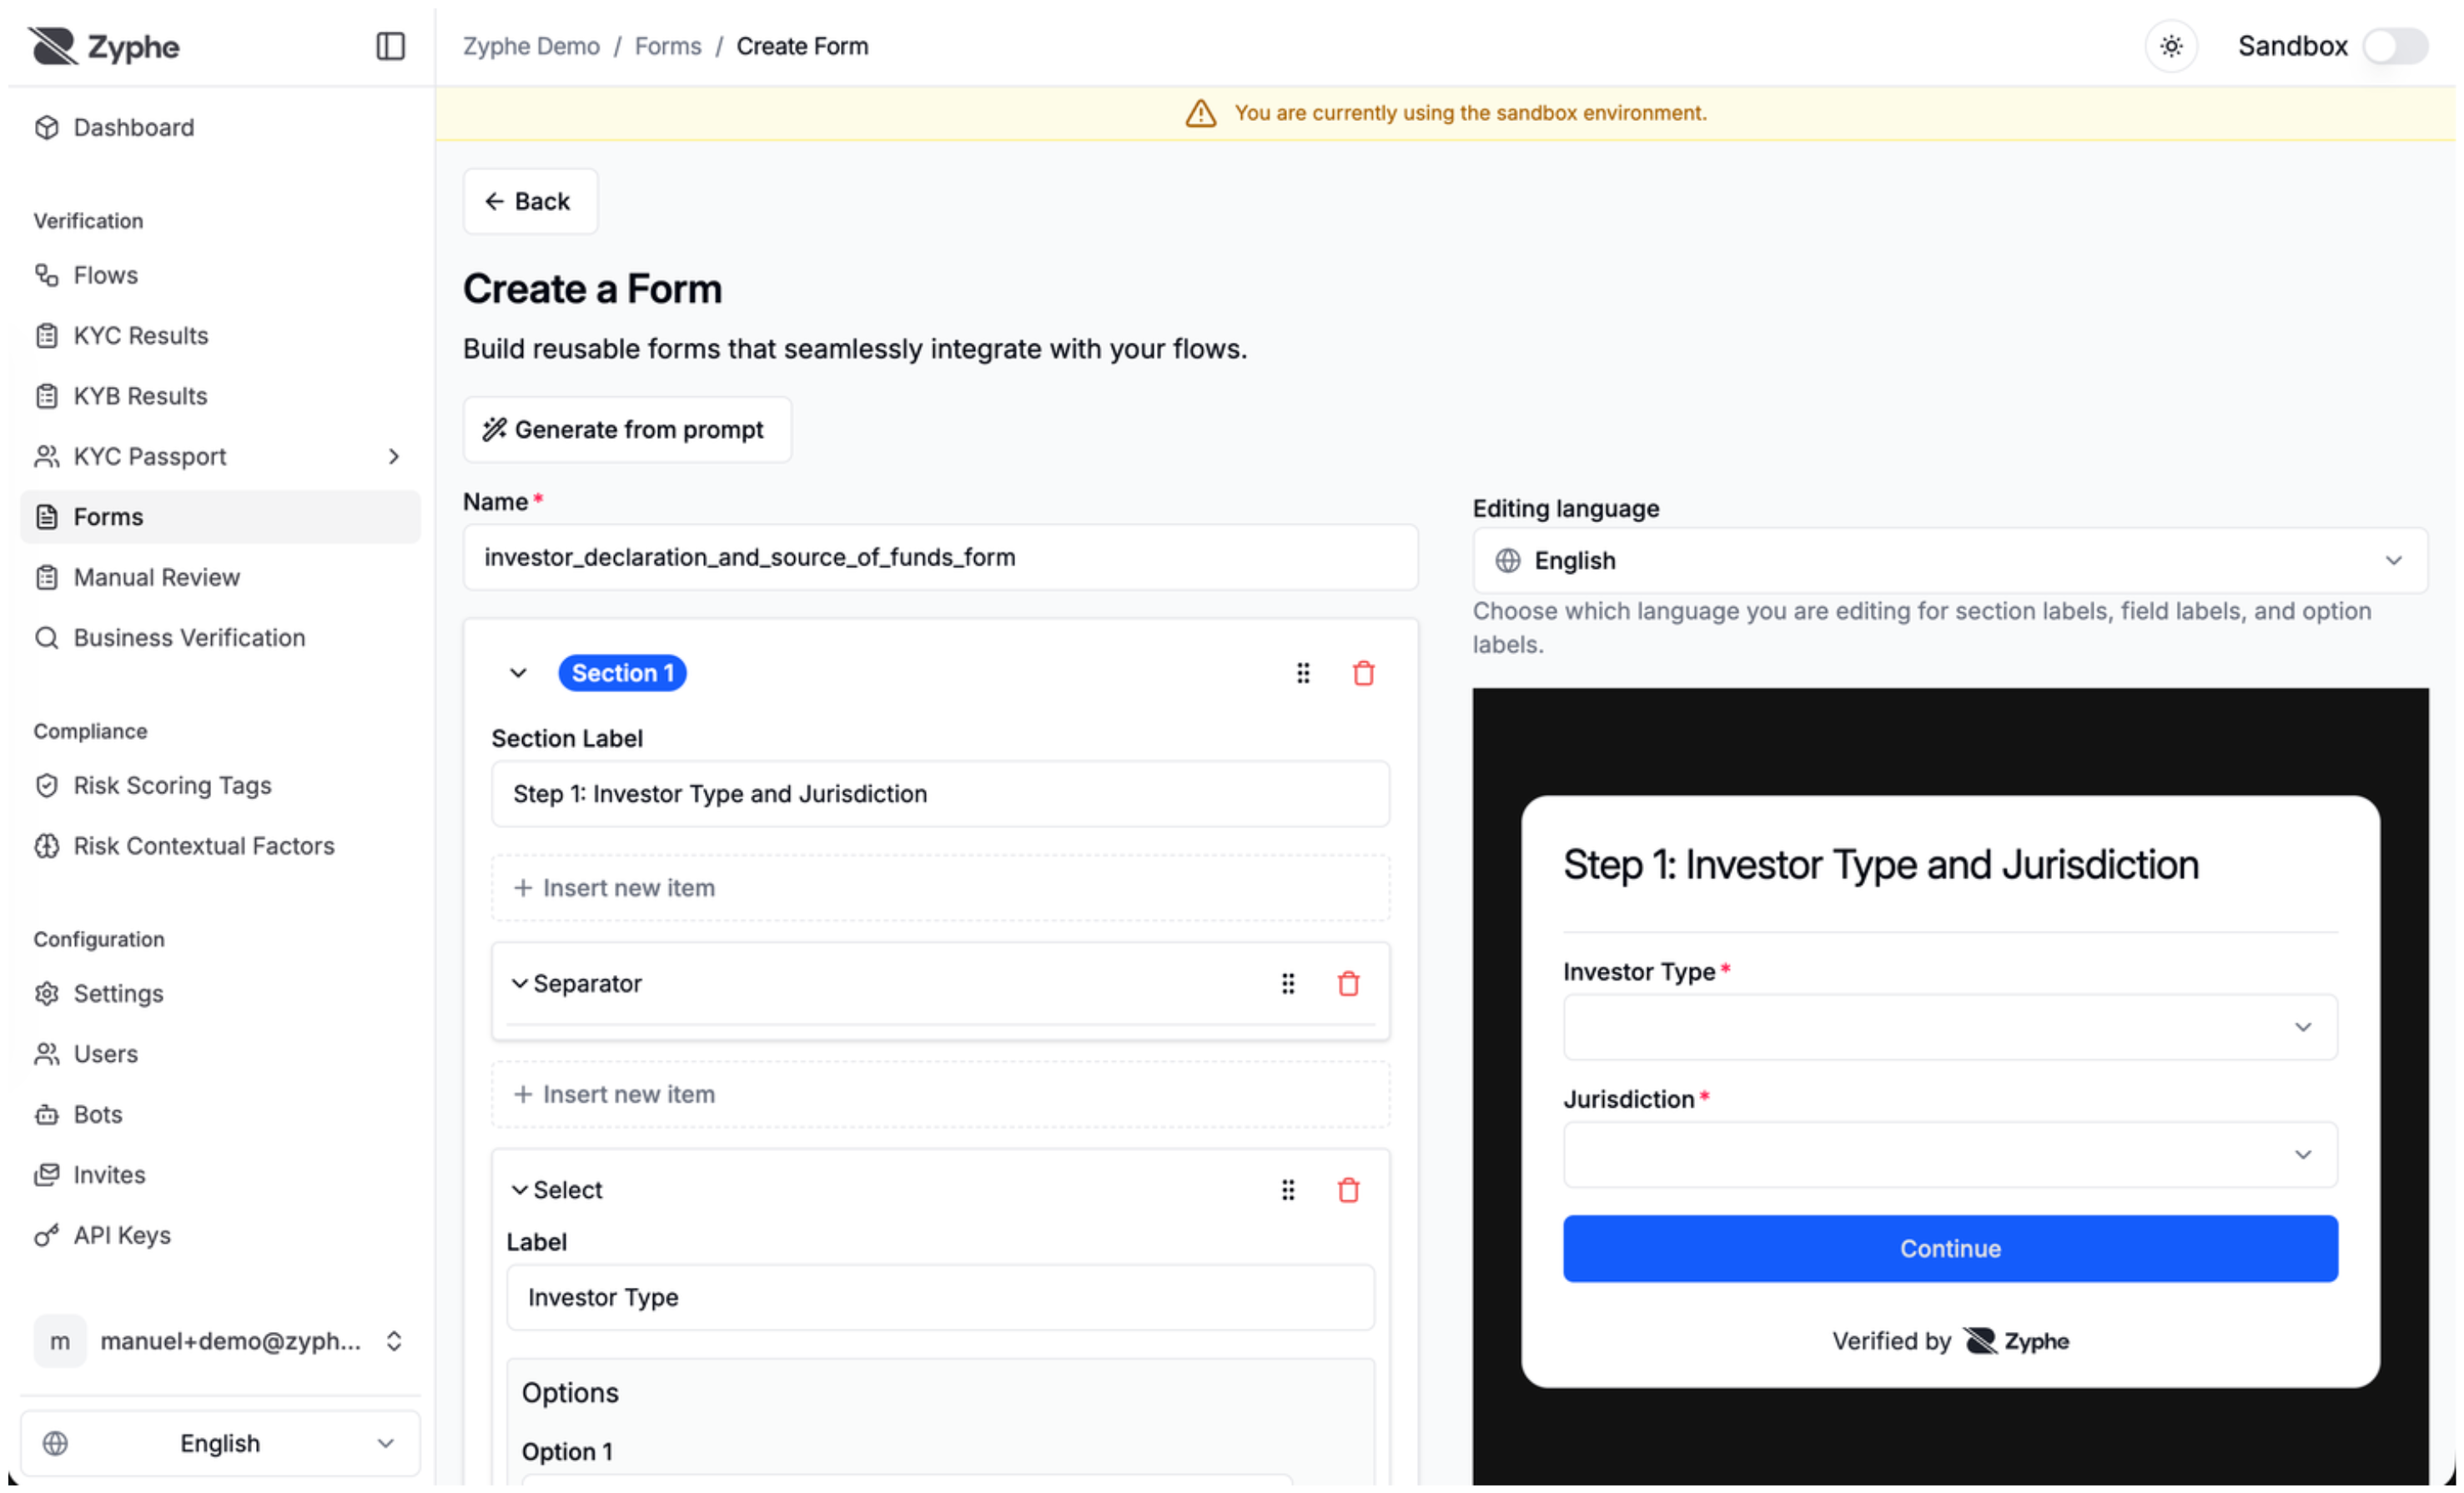
A form is composed of one or more sections. Each section will be displayed to the user as a separate page.
Each section is composed of one or more items.
Item
An item is one of the following types:
- Input Field: A form input field.
- Name: The "machine-friendly" name of the field. This will be used for the JSON entry key.
- Label: The user-facing label of the field.
- Type: Text, Textarea, Checkbox, Date, Select, File, Place
- Required: Whether the field is required or not.
- Options (Select): A list of predefined values for the user to choose from, with an optional "Other" free-text entry.
- Options (File): Accepted MIME types (e.g.,
application/pdf,image/jpeg) and the expected document type.
- Separator: A line that visually separates items within a section.
- Plaintext: Plain text displayed to the user in the form of one or more paragraphs.
Visibility Conditions
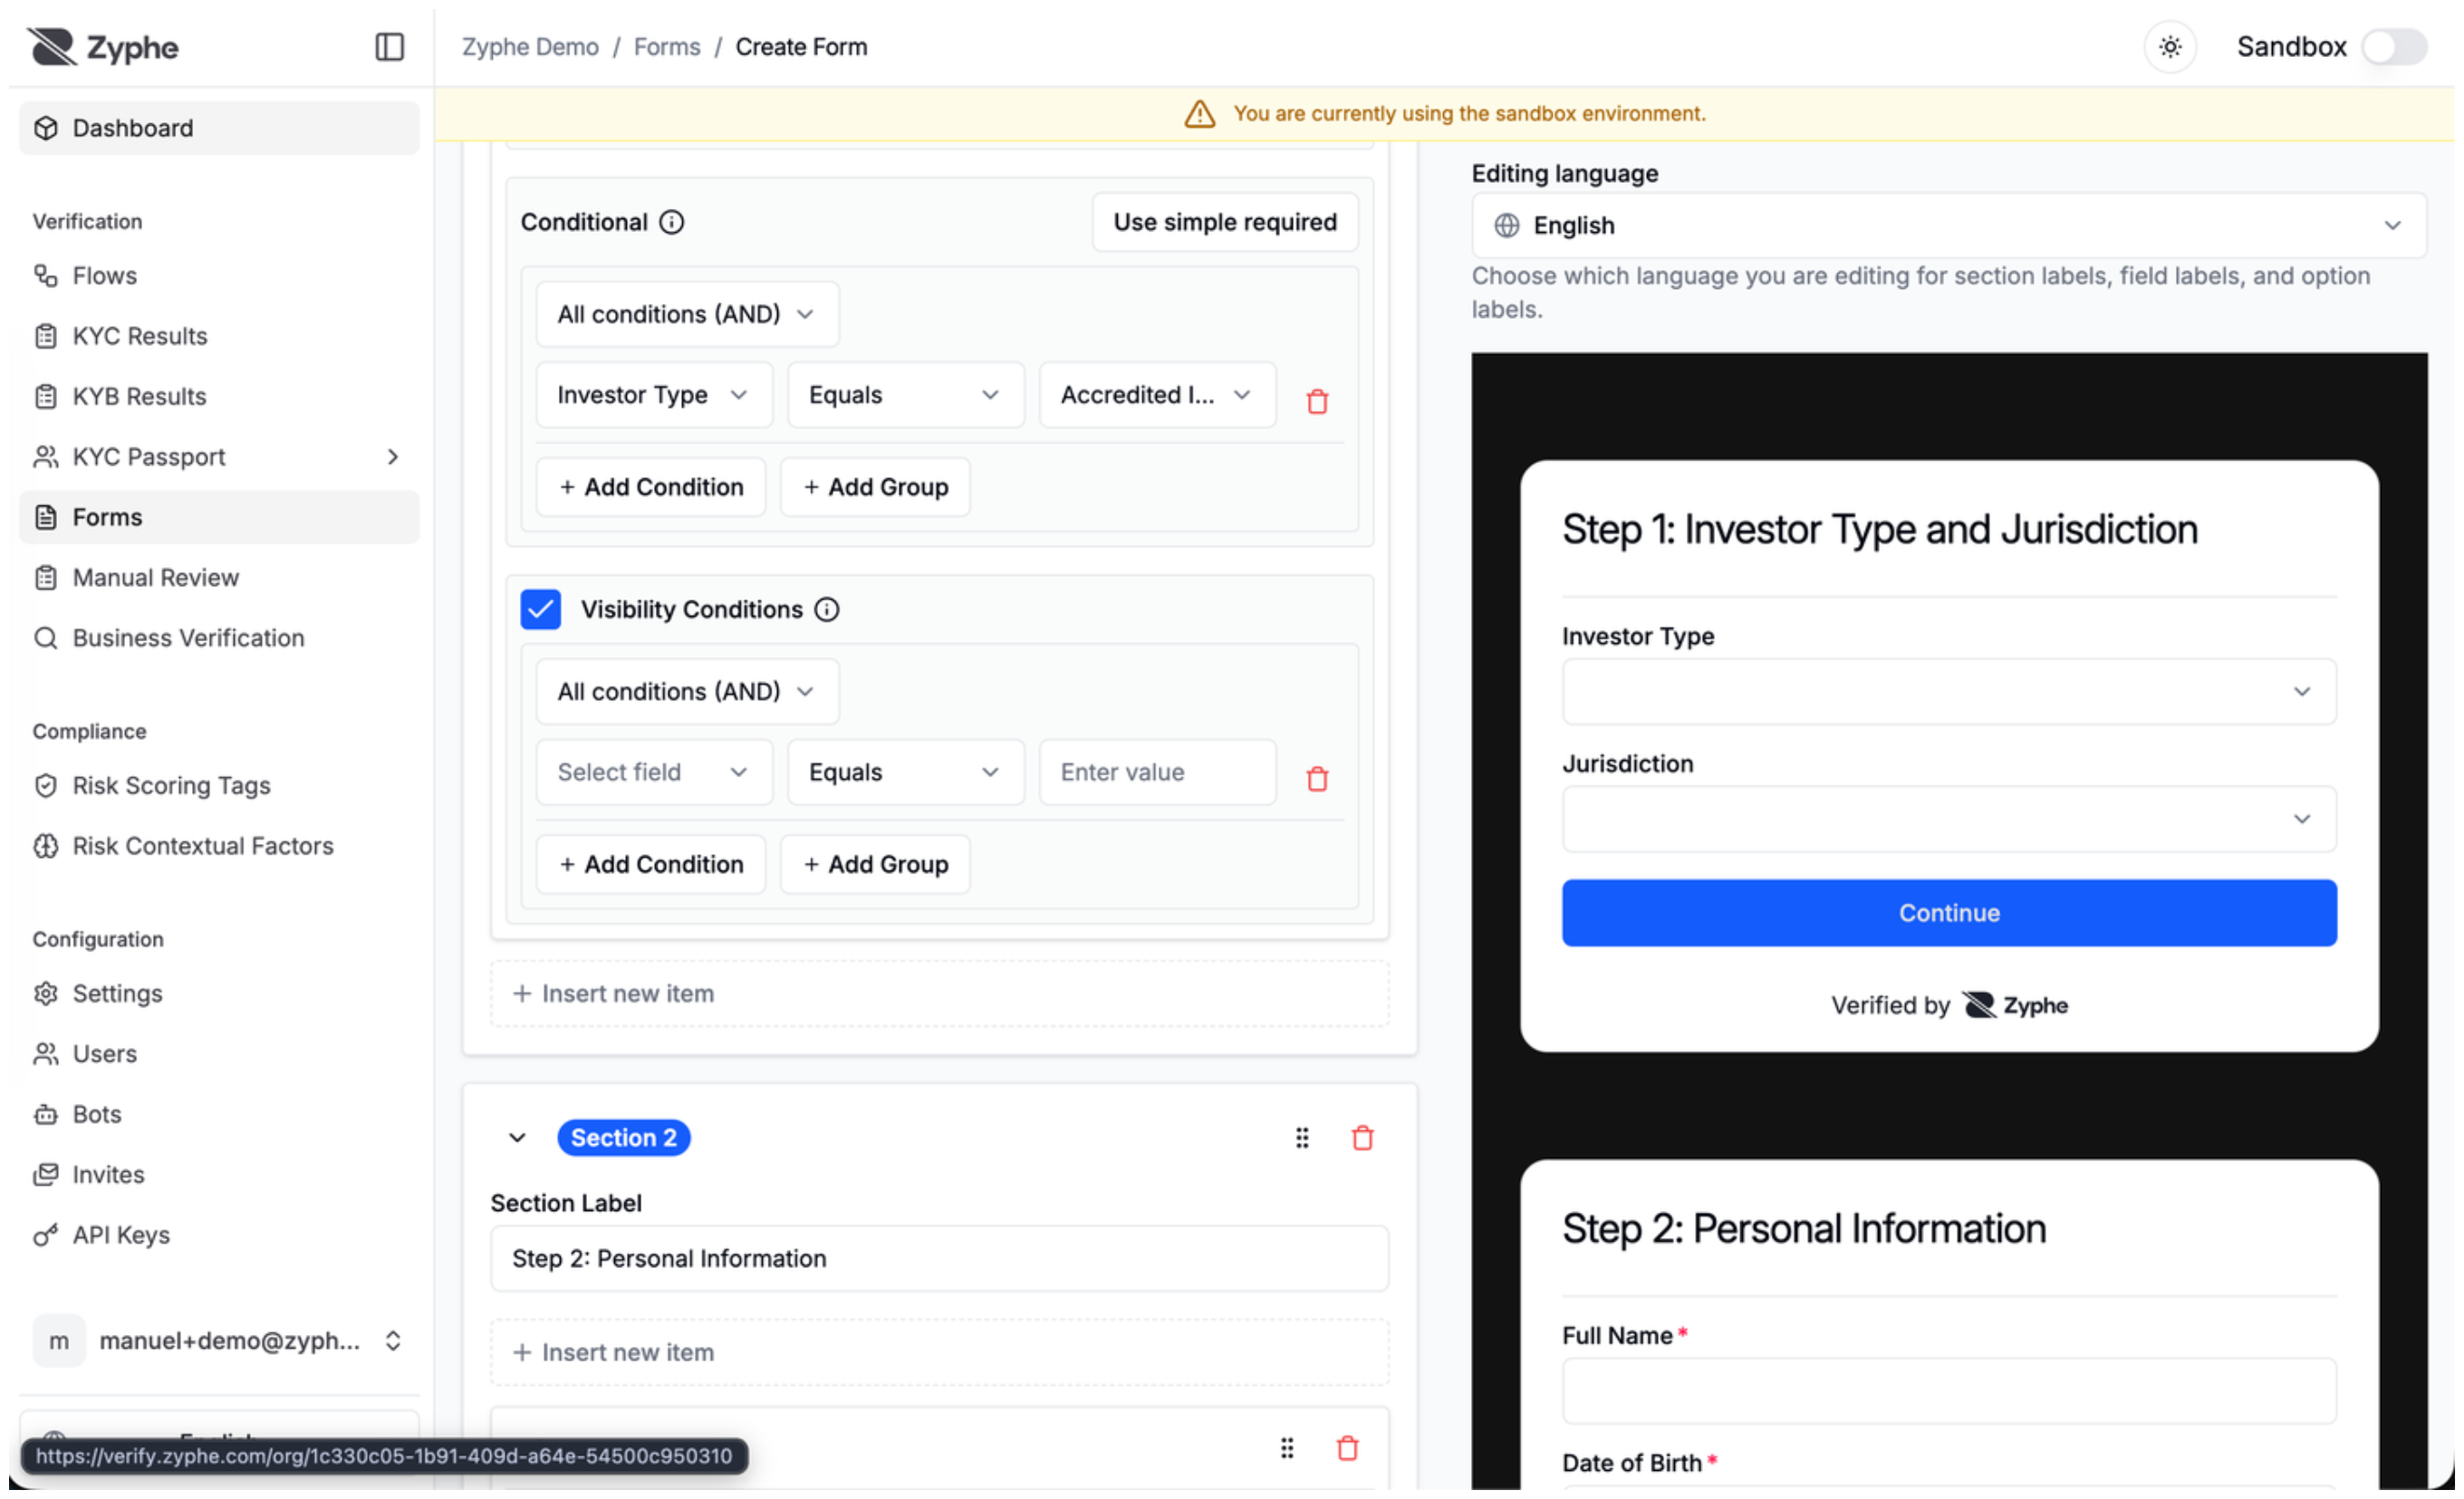
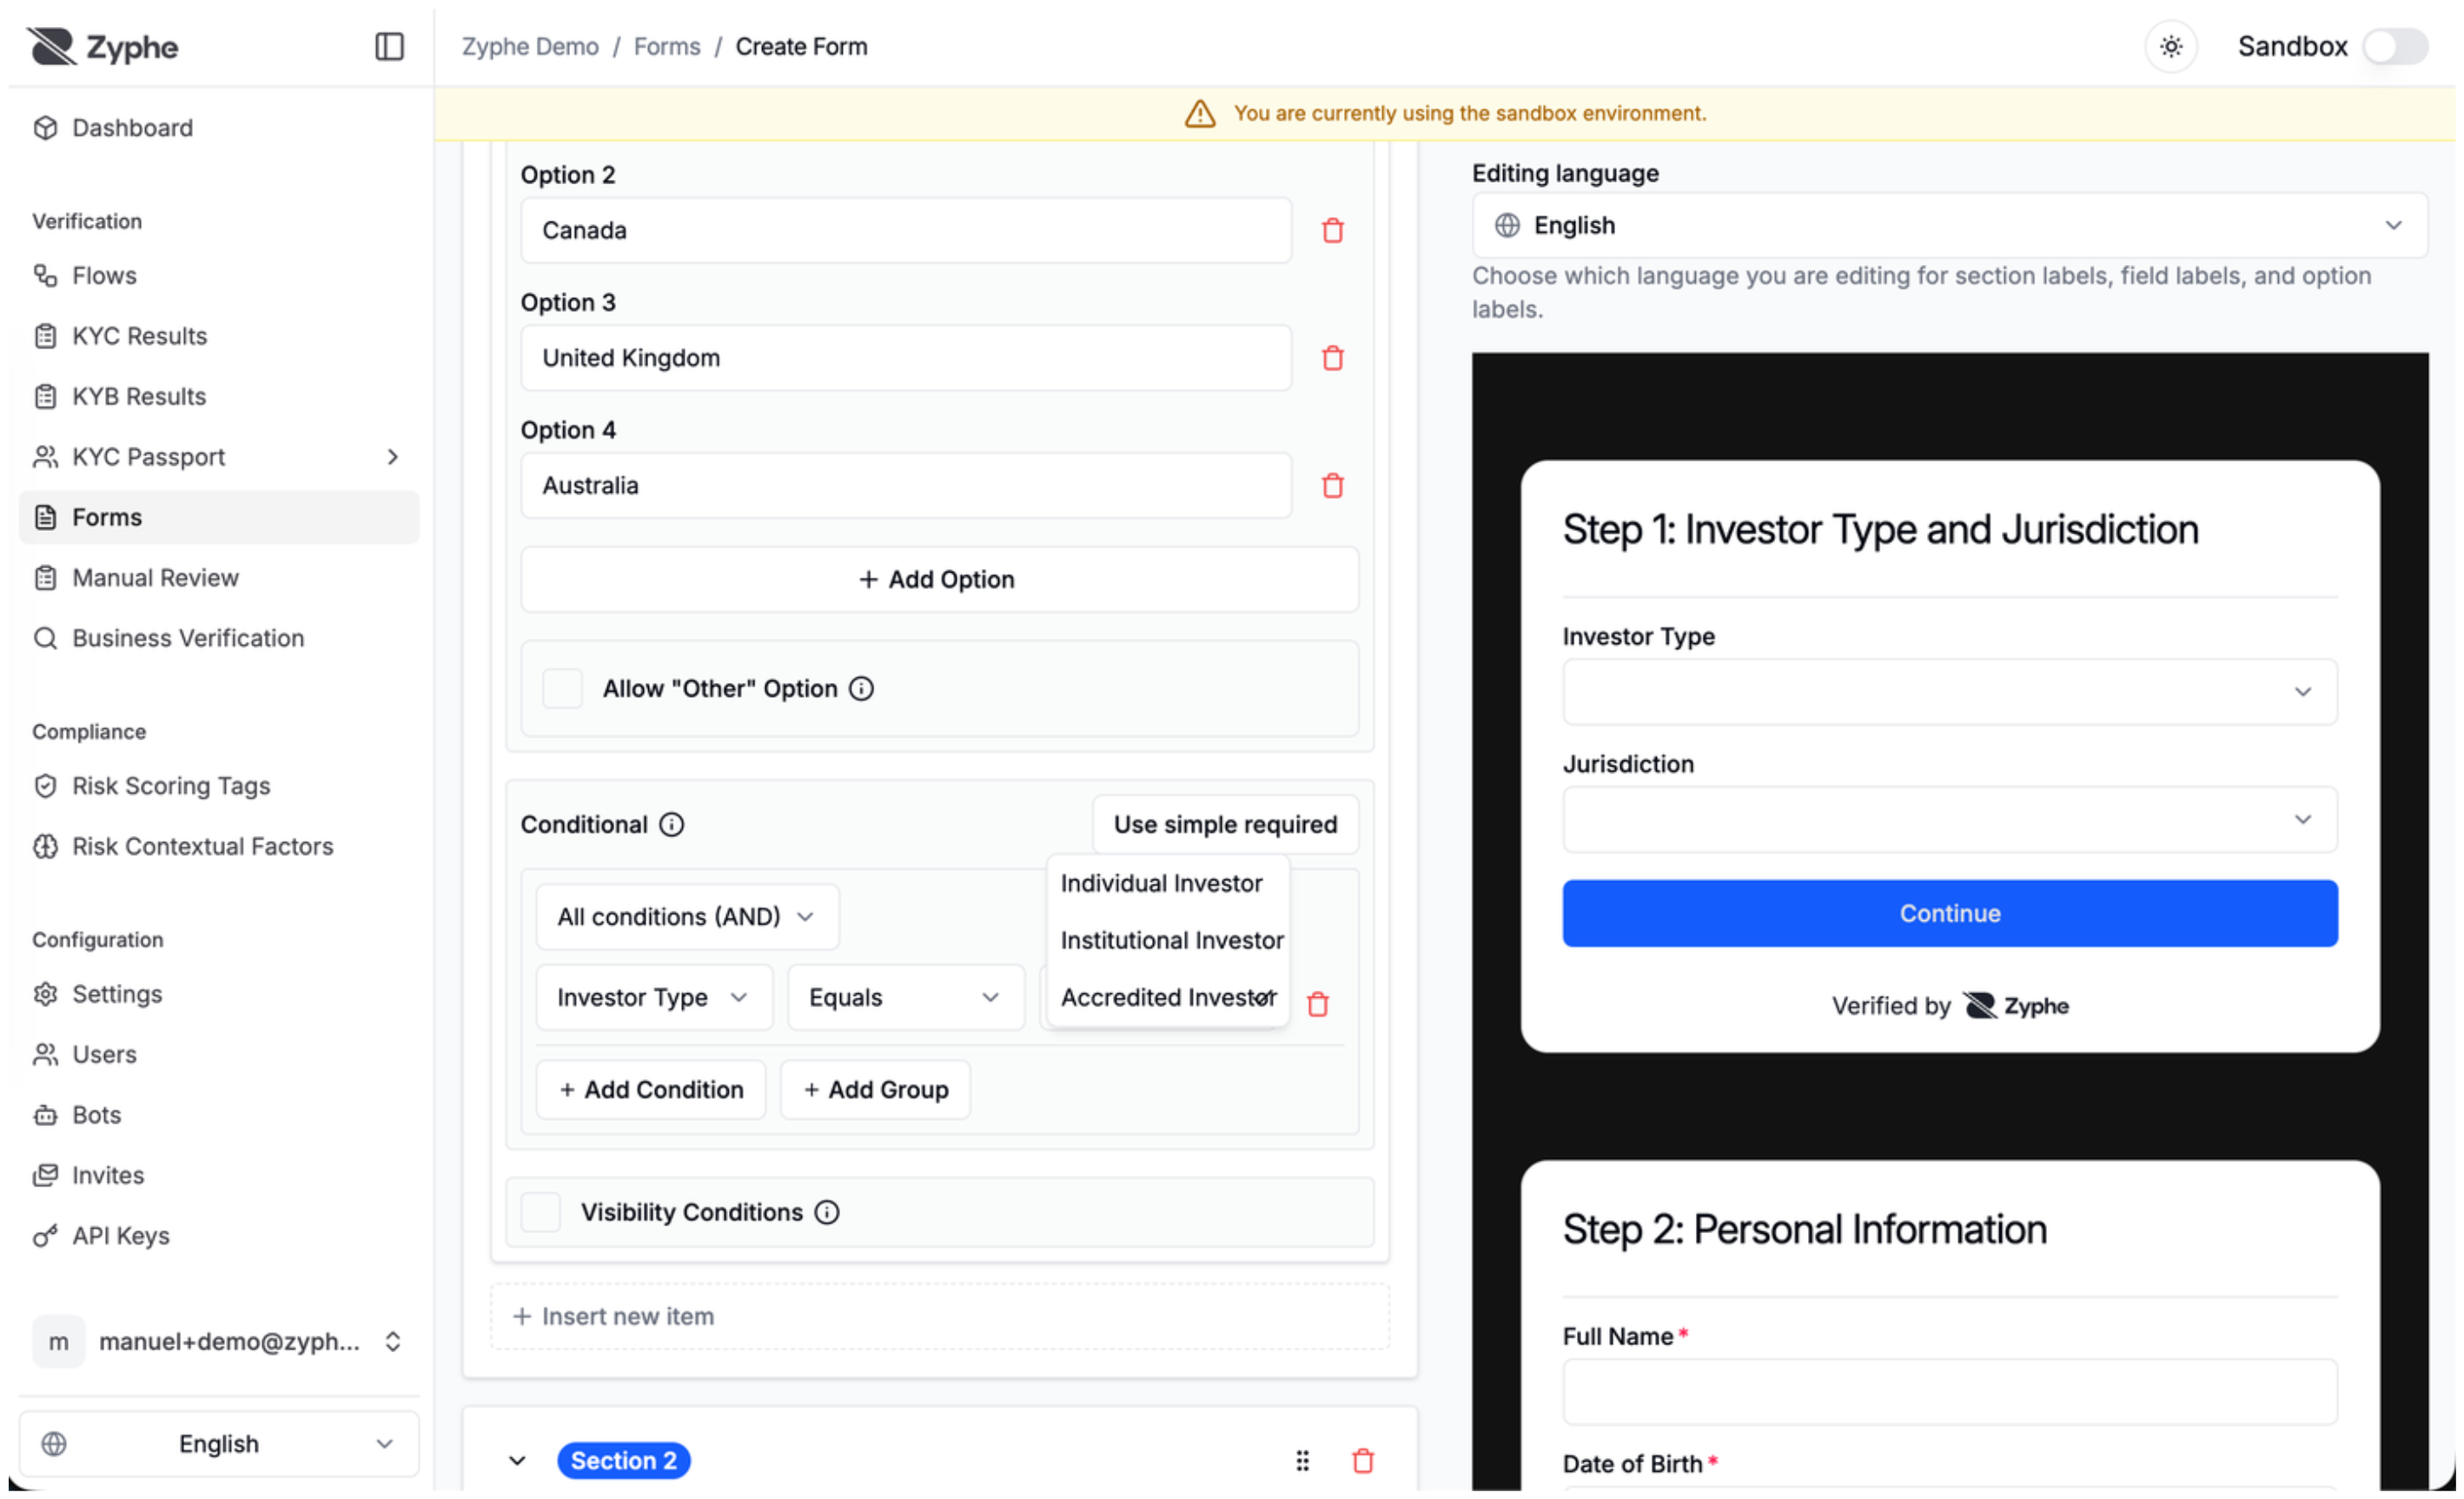
You can use visibility conditions to show or hide fields based on previous answers. This lets you keep forms shorter for users while collecting additional information only when it is relevant.
Scoring
Every input field has an optional Score panel in its settings, where you can assign score tags and factors based on the field's answer. The weights you configure here feed your organization's scores, by default the Risk score: which are computed on each flow result once the user completes the flow.
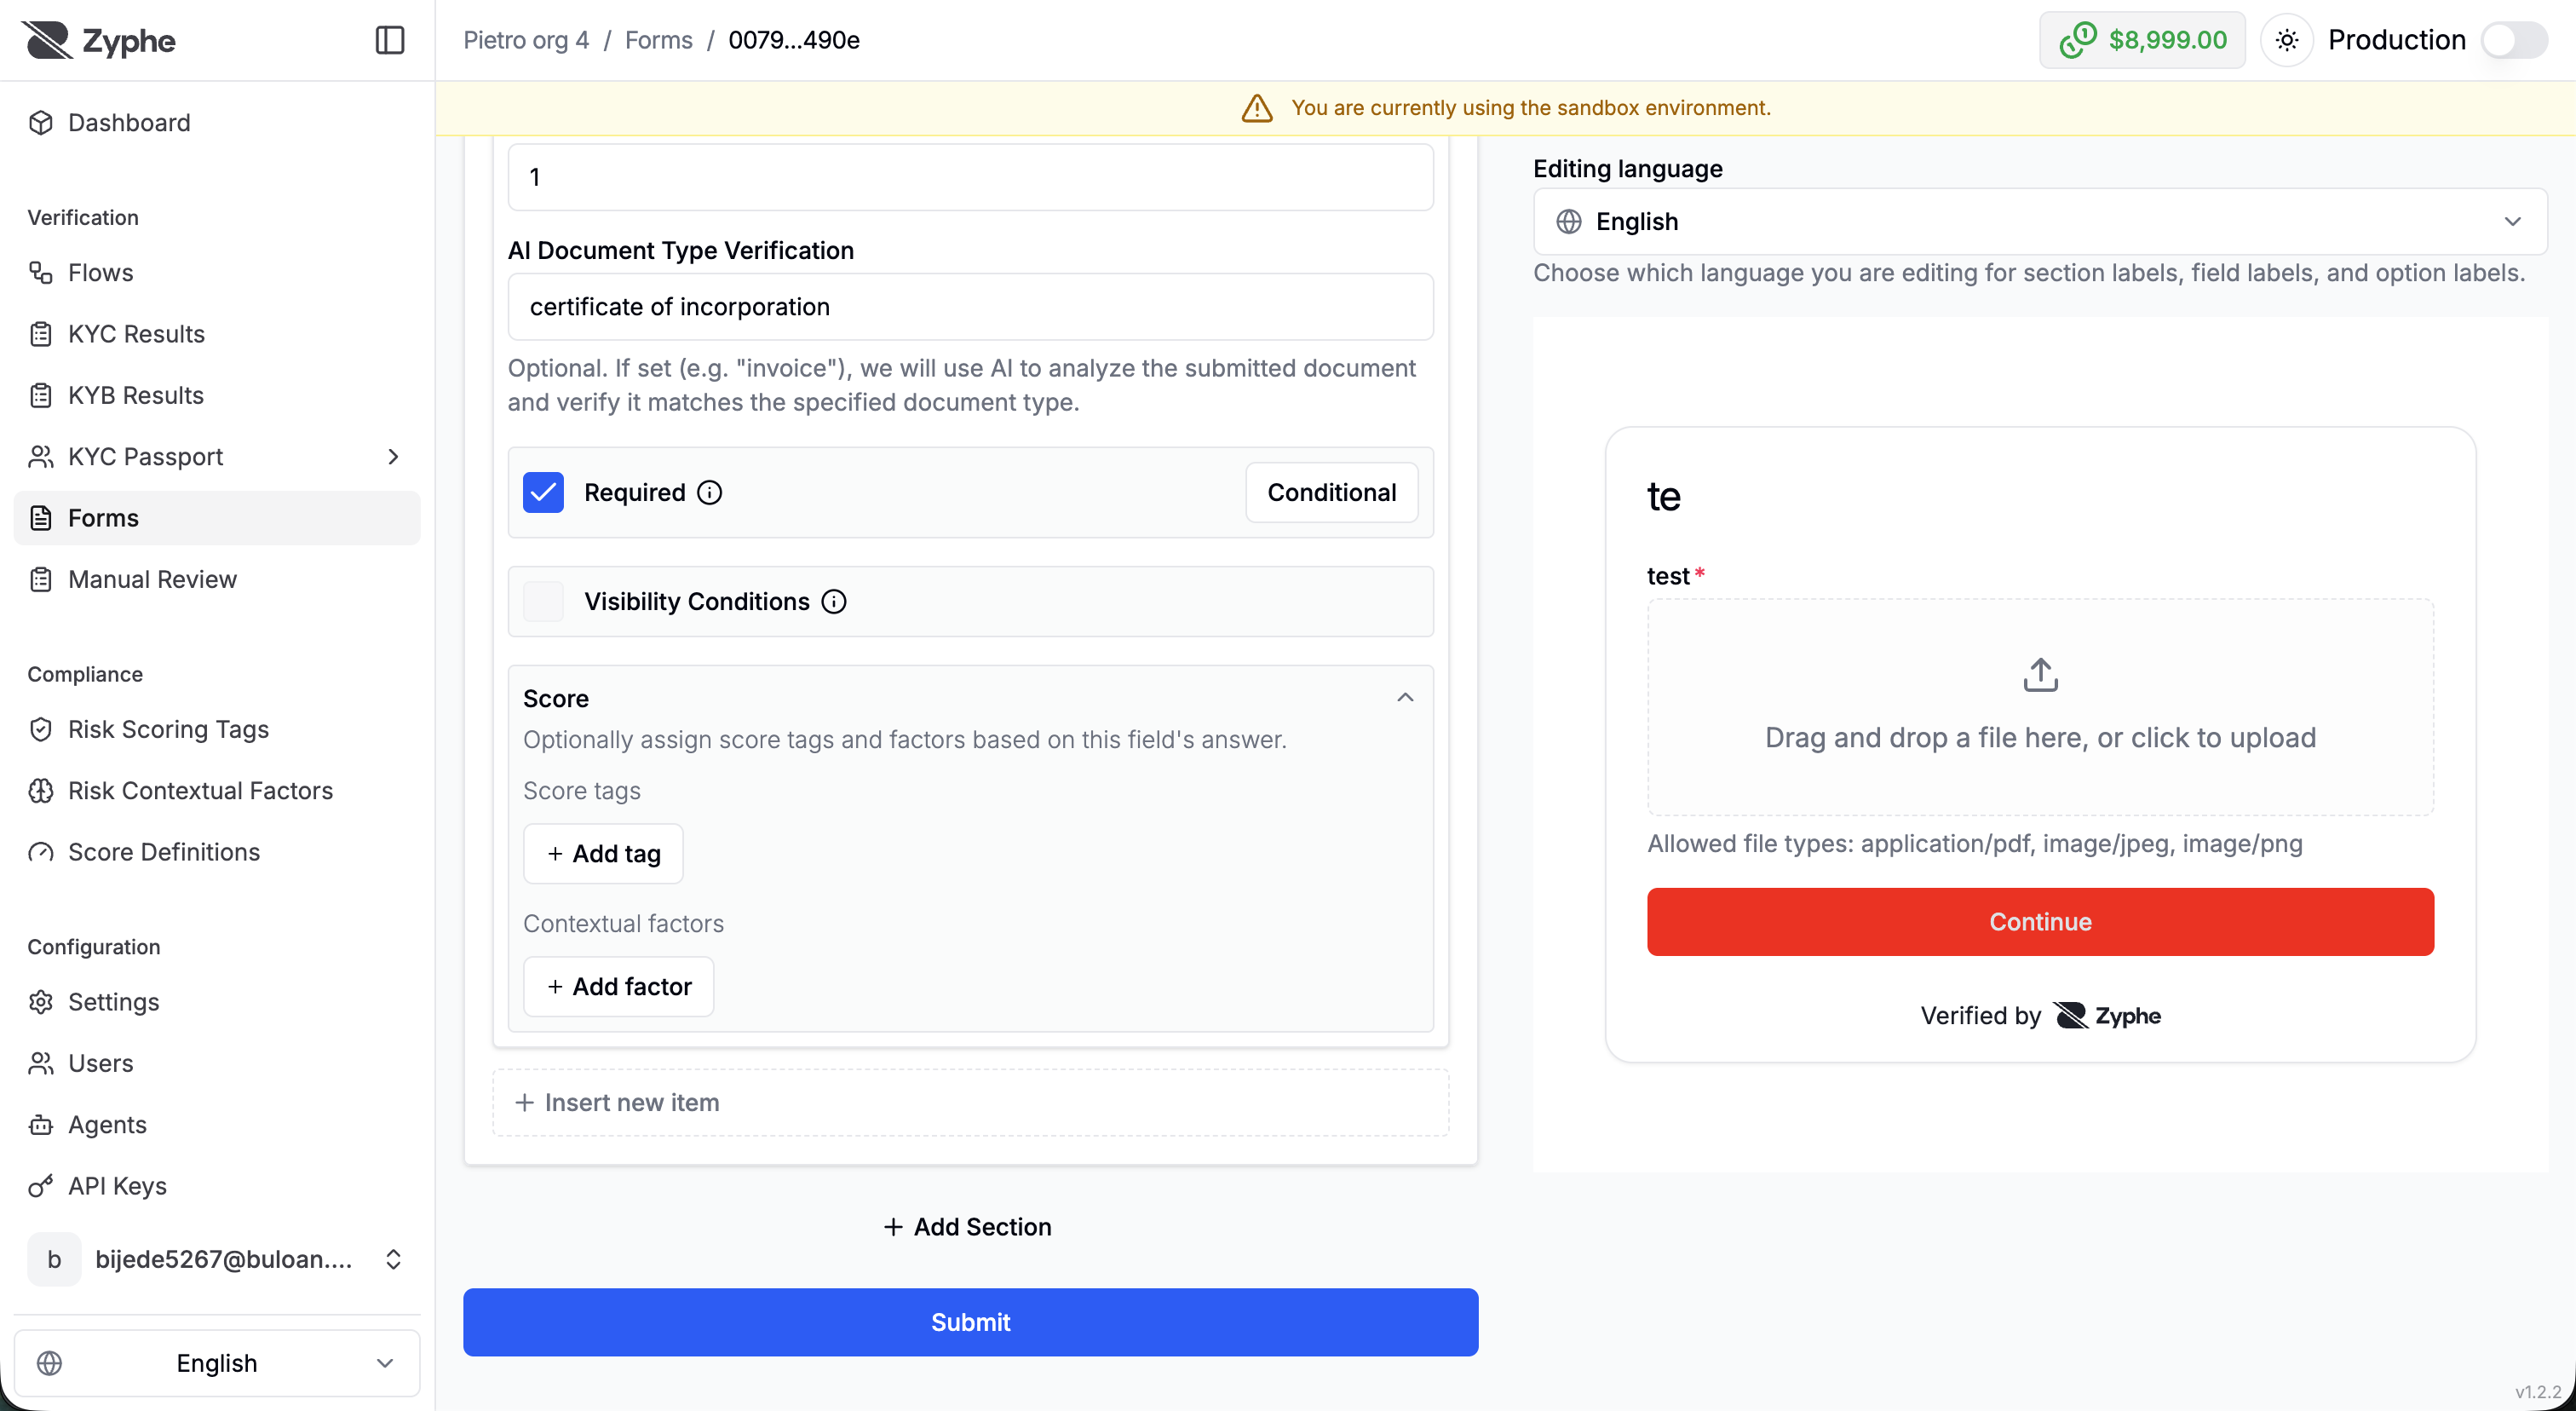
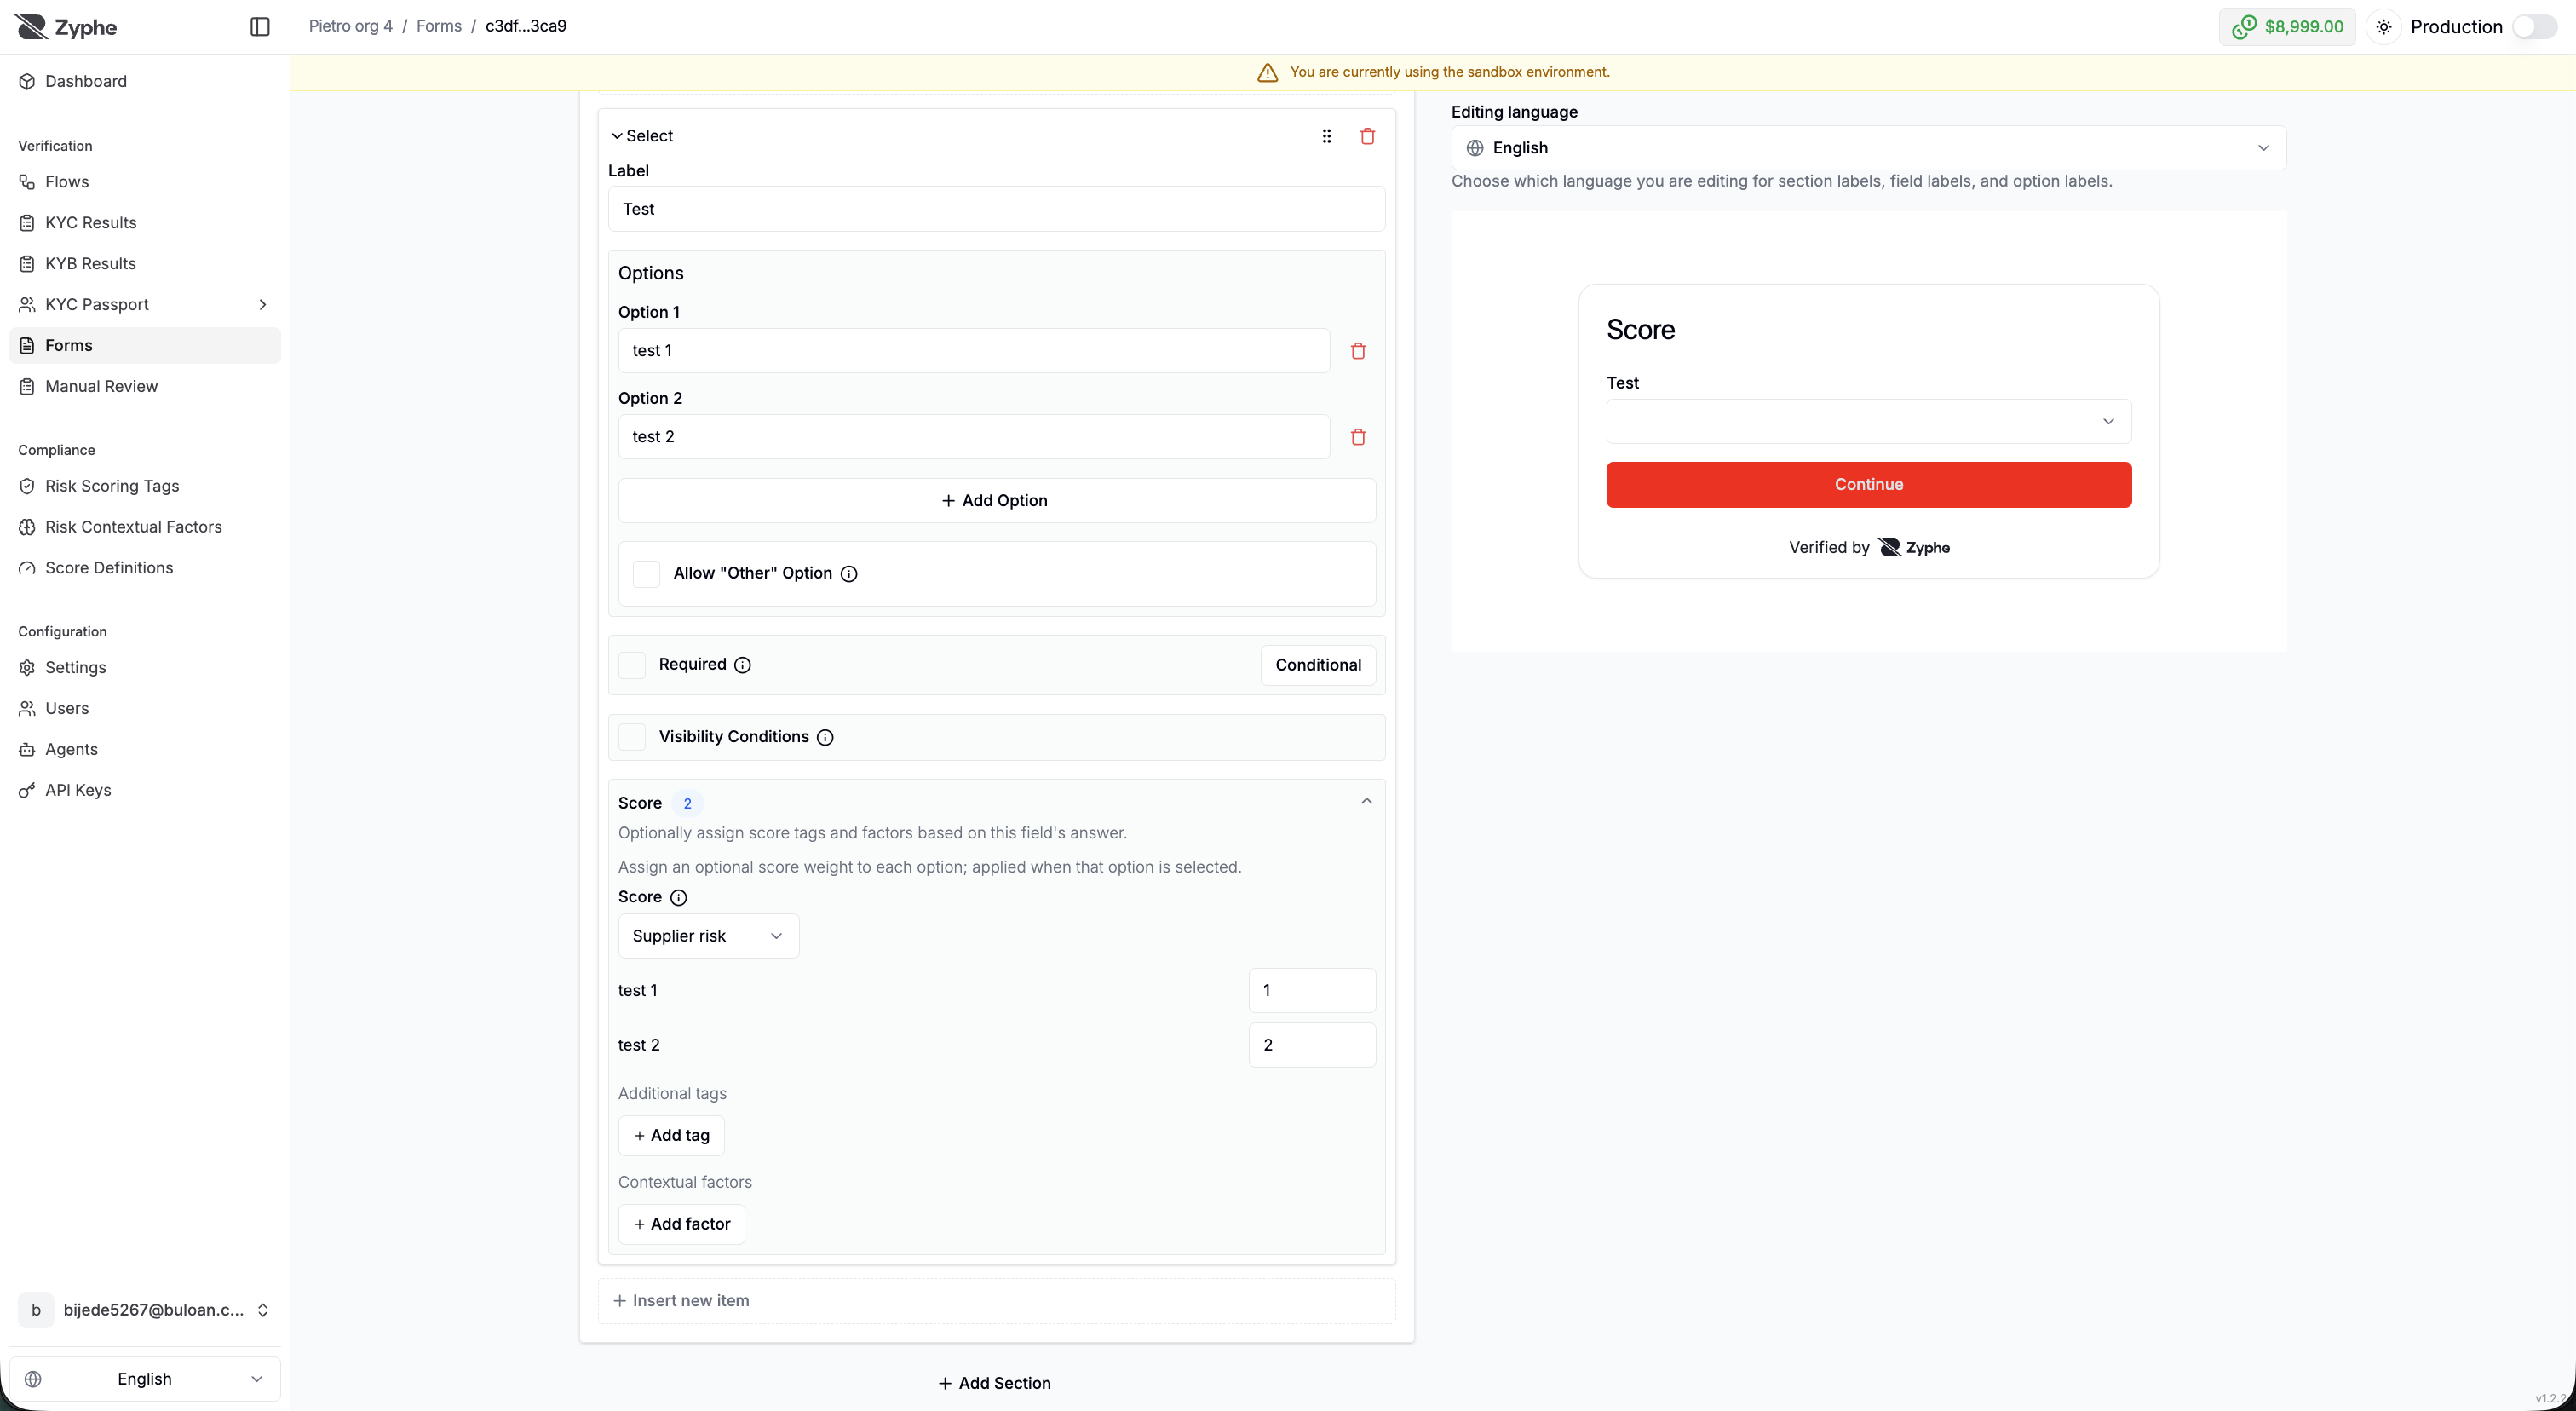
The panel offers three mechanisms:
- Option weights (Select fields): Assign an optional score weight to each option; the weight is applied when that option is selected. Options with no weight simply don't contribute.
- Score tags: Attach one or more tags to the field, each with a Weight. A tag can be emitted unconditionally or only when the answer matches a condition, for example, emit a tag with weight
40only when a checkbox is checked. - Contextual factors (optional): Attach multipliers that amplify the score instead of adding to it. A factor uses either a fixed key or, on Select fields, the answer value, and carries a Multiplier. Factors also support "only when" conditions. You can score a form with tags only; factors are not required. A typical use is a province or jurisdiction select: each option is a factor key (for example an Italian province) whose multiplier scales the tags already emitted by the form. See tag vs factor.
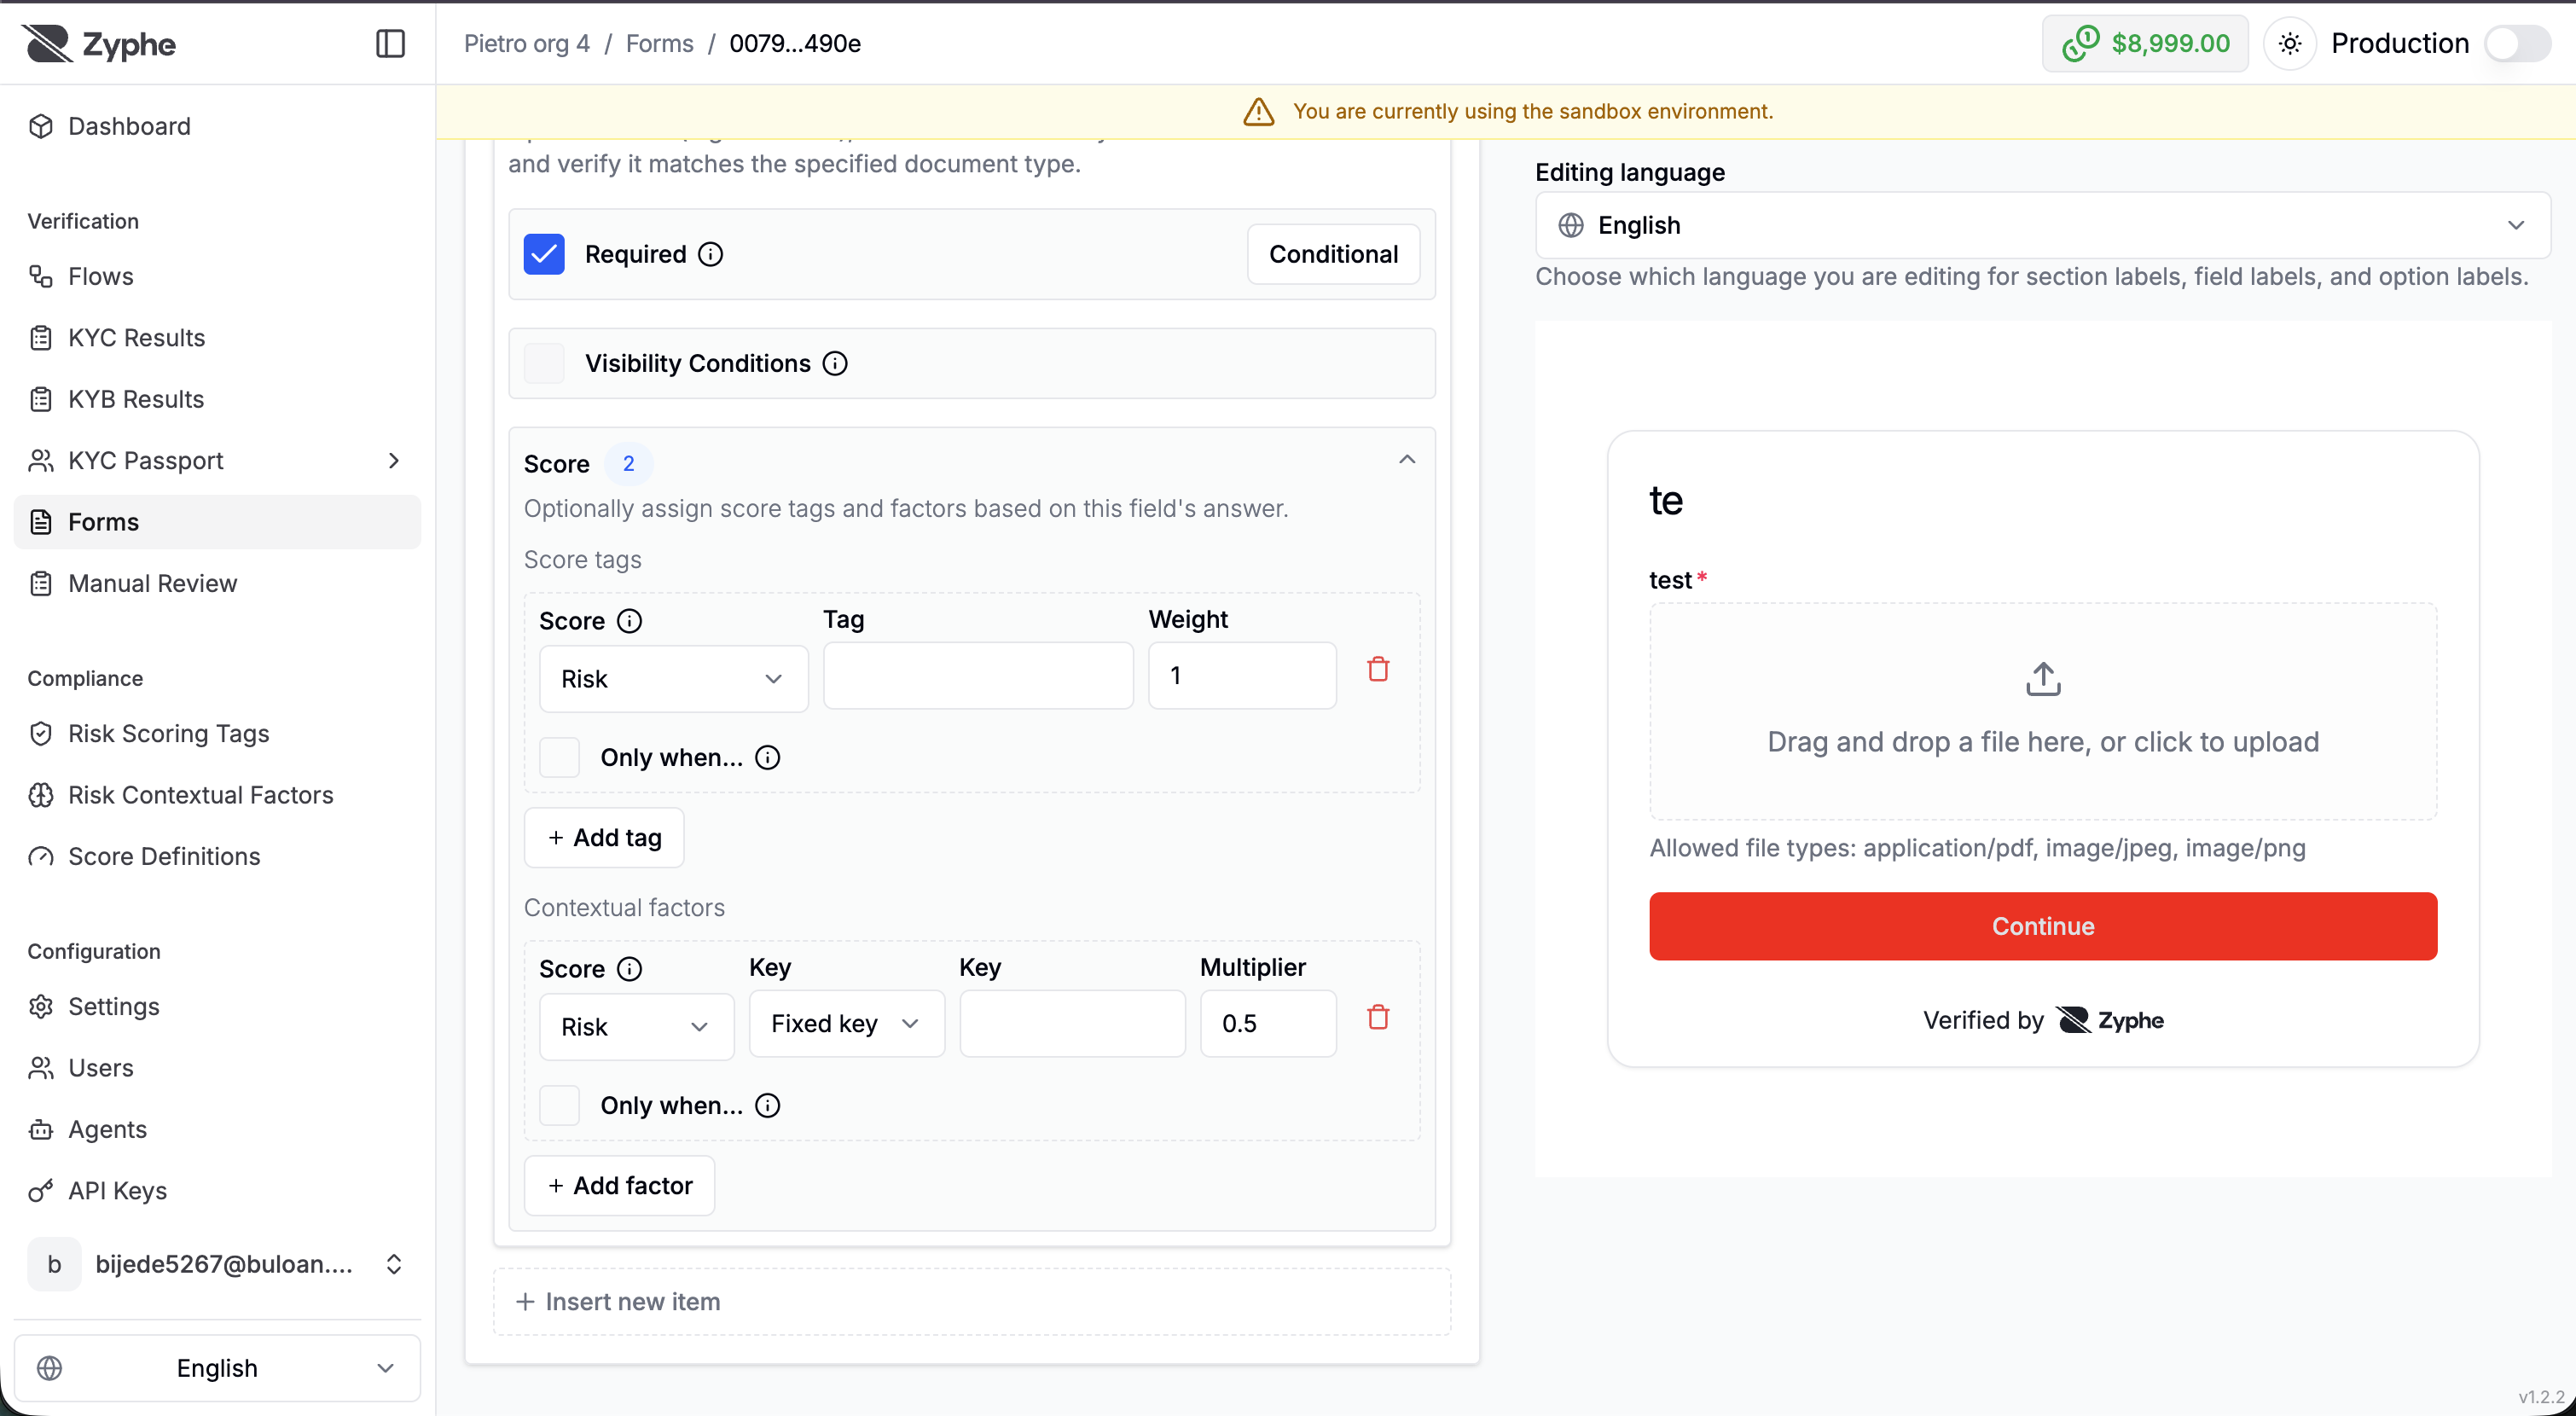
If your organization has defined custom scores, each tag or factor also has a Score selector that chooses which score it feeds; otherwise everything feeds the default Risk score.
Score definitions, tag weights, and the math that turns them into a 0–100 score are covered in the dedicated Scoring section, see in particular Score Definitions and How Scores Are Computed.
Multilanguage Support
Forms support multiple editing languages, so you can localize section labels, field labels, and option labels for users in different locales.
Customize Settings
- Name: The name of the flow step. It will be used to identify the step in the flow.
- Form: The form to be embedded in the flow step.
- Success Button Label: A custom label for the Continue button that is shown once the step is completed.